Showing posts with label Yogurt. Show all posts

Summer Cake with Strawberries, Lemon and Yogurt


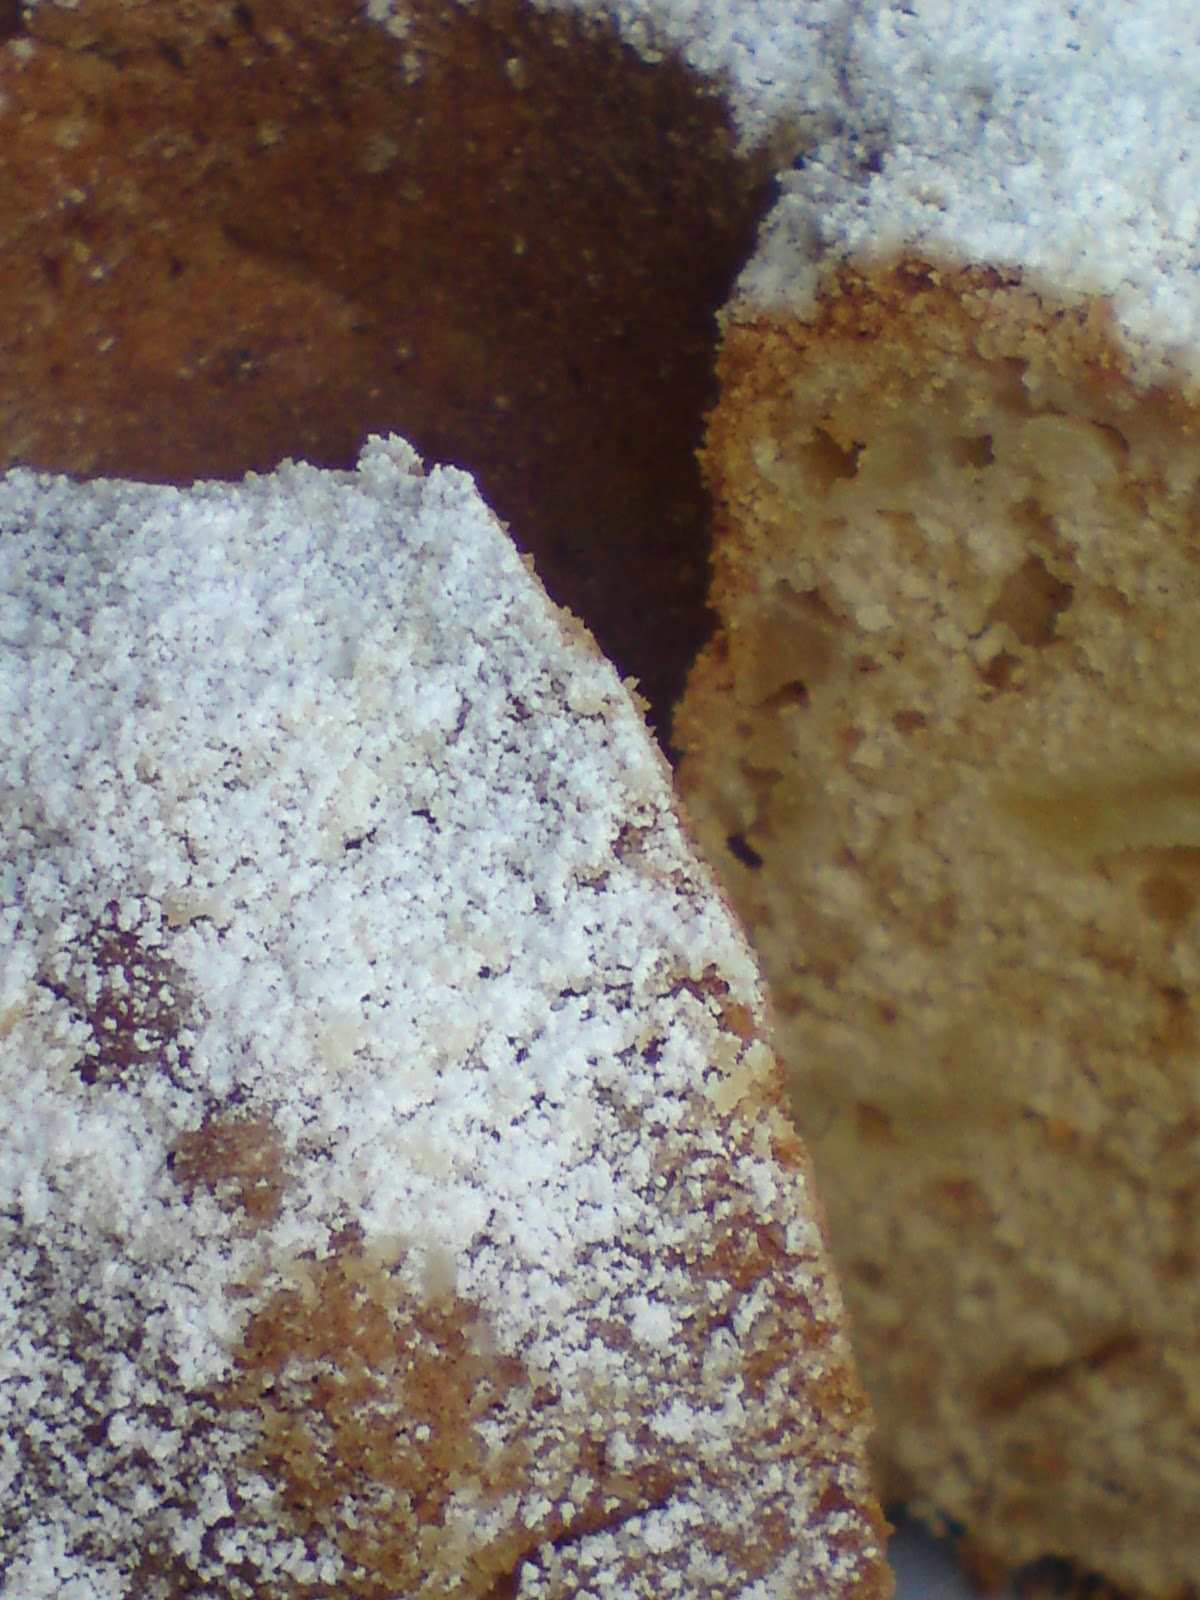
In summer, waking up in the morning to warm sunshine and a blue sky feels so good. But it feels even better when you know that there's a freshly baked strawberry cake waiting for you to eat it for breakfast. Well, I must correct myself: not only for breakfast, but all day long. Seriously, this cake is perfect at any time. Serve it with a spoonful of lightly sweetened plain greek yogurt on top and there you go - the most delicious summer dessert of all time!


Strawberry Summer Cake

batter
150gm butter or margarine, at room temperature
150gm white sugar
1/2 tsp salt
a pinch of ground nutmeg
a pinch of ground cinnamon
3 eggs
zest of 1 lemon (about 2 tsp)
280gm regular white flour
2 tsp baking powder
130gm plain yogurt or buttermilk

+ about 300gm of fresh fruits, cut in halves or pieces or slices - I was using 1 large nectarine cut in thin slices and about 20 large strawberries cut in halves. What kind of seasonal fruit you add totally depends on your taste. blueberries, strawberries, blackberries, pears, apricots, nectarines, kiwi, rhubarb - add anything you wish.

Preheat your oven to 200 C. Line a medium size round baking pan with baking paper but do not grease the sides of the pan. Place soft butter, sugar, lemon zest, salt, cinnamon and nutmeg in a large bowl and beat using a hand mixer on high speed until fluffy for about a minute. Beat in the eggs, one at a time. In another bowl sift together flour and baking powder and sieve it over the wet mixture, quickly beating it in. The batter should be very dry and sticky. Now add the yogurt or buttermilk and quickly beat it in as well making sure that everything is well incorporated. Now the batter should be extremely fluffy, light and smooth. Put the batter into the lined baking pan spreading it evenly. Arrange all the pieces or slices of fruit on top of the batter and lightly press them in. Now prepare the crumble mixture...

crumbles
30gm butter or margarine, at room temperature
30gm sugar
50gm regular white flour
a pinch of salt

Combine the ingredients for the crumbles in a bowl and beat using a hand mixer on low speed for about 10 seconds, just until the mixture is lumpy and crumbly, and arrange the crumbles on top of the cake onto the fruits. Put everything in the oven and bake for about 45 minutes until done and nicely golden. Let it cool completely and then remove the cake from the baking pan. Enjoy ...

Simple Oatmeal Yogurt Cookies


Honestly, this needs no introduction. These cookies are extremely easy to make and they're perfect for breakfast, just have them with a cup of simple hot coffee or (if you are into yogurt like I am) cut some fruits that you like in small pieces, mix them with half a cup of plain yogurt and crumble some oatmeal cookies on top, and voilà - another delicious breakfast is ready!


Simple Oatmeal Yogurt Cookies
makes about 2 dozen medium size cookies

1 cup simple white flour
1 tsp baking powder
1/2 tsp salt
2 Tabsp butter
3/4 cups sugar
1 egg
1/4 cup yogurt
1 1/2 cups oats (any kind you like, I was using quick cooking oats. Use old-fashioned rolled oats if you prefer cookies that are more crispy and chunky)

Preheat oven to 180 C. Line 2 baking sheets with baking paper. Cream together butter and sugar using an electric mixer on high speed. Add the egg and yogurt, mix well. In another bowl sift together flour, baking powder and salt and sieve the dry mixture over the wet mixture, mix everything together. Now fold in the oats. For one cookie drop about one tablespoon of the batter on the lined baking sheets (or about one teaspoon of batter for smaller size cookies). When dropping the small portions of batter on the sheet, make sure to leave some space in between as the cookies will slightly spread while baking. Bake for about 10 - 12 minutes until nicely golden and done. Enjoy.


Homemade Yogurt


Honestly, I was never into this making-everything-by-yourself-at-home kind of stuff. I would always buy everything plain and simple at the supermarket. But now - since I've realised that making everyday food on your own is so surprisingly easy - it has changed. Yes, obviously, making your own food does take you a little bit more time than buying it. And yes, you sometimes have to make more efforts for one meal than just going to the supermarket. But it's totally worth it. Trust me. It's much healthier and more delicious to eat homemade food, no matter if it's homemade jam, juice, bread, ice cream, granola or in this case - yogurt. 
Not very long ago David Lebovitz wrote about his experience of making homemade yogurt on his blog. It sounded really simple and yummy and since I had a litre of full-fat milk and some yogurt left I decided to try it right away. And it is indeed that simple and yummy. The consistency can be compared to full-fat greek yogurt, really creamy and fluffy. And I was really, well, let's say, surprised by the taste, because it was less sour than plain supermarket yogurt and it had this strong natural sweetness, which I adore. 
But try it yourself. Here comes my attempt ...


Homemade yogurt

1 l milk (I used 3.5 % fat)
4 Tabsp plain yogurt

Heat the milk in a saucepan and bring to a boil while continously stiring. When the milk is boiling, remove from heat and pour the hot milk in a large bowl. Let cool down a little bit until it's a bit warmer than room temperature (about 30 - 45 minutes). Whisk in the plain yogurt until incorporated. Now cover the glass bowl with a plastic wrap and leave it in a warm spot for about 10 - 12 hours. Some say that 3 hours is enough, I left mine undisturbed at a very warm place for 11 hours and it was perfectly fine. When the yogurt has the consistency that you want, let it chill in the fridge for some hours. 
And now you finally have it, you're own homemade yogurt. It is really that easy. 

Enjoy it with whatever you like, e.g. with some apple rhubarb compote and honey like I did ...


No-Yeast Plum Rolls


I admit it. Baking these plum rolls, I failed. Yes, they are very delicious and yes, they're full of fruity flavours but - they don't look nice. To be more exact, it was a complete mess. I know that the taste is much more important than the look but still, I wanted to have pretty and yummy plum rolls. No chance. Those were yummy but so not pretty. The sides of the rolls look smashed while the juice of the plums spread between the rolls while baking so it somehow looks like soaked. Horrible. But hey, you can't have everything in life, right?! Since they still tasted good after all I'll just have to make something up to bake beautiful and delicious plum rolls. And I've learned one thing from this, namely how to cover up something baked that turned out unpretty: Dust it with about a ton of icing sugar so that the whole mess is hidden under a thick layer of sugar and unrecognizable to anyone. That's it. You live and learn.


No-Yeast Plum Rolls

dough
150gm yogurt
50gm vegetable oil
100 - 150gm sugar (depends on whether you use sweetened or unsweetened yogurt)
1 tsp salt
1 egg
400gm flour

In a large bowl mix together yogurt, oil, sugar, salt and egg. Sieve over the flour and mix well. Knead the dough until it becomes very smooth and elastic. Roll out very thinly on a lightly floured surface or on a sheet of baking paper.

filling
2 cups plums, in very small pieces or slices
1 tsp cocoa powder
1 tsp sugar

Preheat your oven to 175 C. Combine the ingredients for the filling and arrange on top of the rolled out dough. Roll in the dough together with the filling inside and cut in 12 equal pieces/small rolls. Line a medium size round baking pan with baking paper and place the small plum rolls in the baking pan. Bake in the preheated oven for about 40 - 50 minutes until done. Let cool completely and dust with some icing sugar.

Simple Banana Yogurt Bread


It's quite weird but I absolutely hate bananas while I absolutely love banana cake. Well, I know that's not normal, but come one... we all have strange quirks we can't get rid of. Face it. I hate bananas. I love banana cake.
But a moist banana cake with some yogurt added to the batter is even better. Although I'm still not entirely sure why those kind of recipes are called 'banana bread' instead of simply 'banana cake', I don't mind at all as long as the so-called 'bread' is delicious. Just as the Spanish proverb tells us 'If there is no bread, cakes will do.'


Simple Banana Yogurt Bread

1 cup sugar
2 Tabsp butter
2 eggs
3 cups white flour
1.5 tsp baking powder
1 tsp salt
3 mashed bananas combined with 2 cups of yogurt or instead use 2 cups of bought banana yogurt (containing real bananas or banana flavour)

Preheat your oven to 180C. Line a loaf pan with baking paper. Cream butter and sugar together using a hand mixer on high speed until very fluffy. Add the eggs and beat in. Add the mashed bananas+yogurt or the banana yogurt and beat in as well. Sieve over flour, baking powder and salt and quickly beat in just until incorporated. Do not over beat. Pour the mixture into the lined loaf pan and bake for about 45 - 55 minutes until done and the top of the cake is golden brown. Let cool completely.
Optional: Sprinkle the top of the cake with some melted chocolate or dust the cake with some icing sugar.

Yogurt and Berry Muffins


Everytime I have left-over food in my kitchen I try to use it up as soon as possible (and that's only one of many extremely economical habits of mine ...) For that I immediately look for a suitable recipe and this, mostly, leads me directly to smittenkitchen. If you have the same passion of scanning and stalking cooking-baking blogs for yummy recipes, you probably know exactly what I'm talking about. In her most diversified blog Deborah shares a lot of ordinary and extraordinary recipes and each is followed by an amusing story and beautiful photography. That's where I got my yogurt and berry muffins recipe from. I was actually reading through her post of a lemon yogurt anything cake with the intention of baking a fresh yogurt loaf but then I thought 'why not use the same recipe for some lovely muffins?' - Yogurt makes your muffins soft and berries make them fruity, combine those ingredients with a lot of love and voilà - breakfast is ready.


Yogurt and Berry Muffins
recipe (slightly changed) from smittenkitchen

1.5 cups flour
2 tsp baking powder
1/2 tsp salt
1 cup plain yogurt (if you use sweetened yogurt, you might want to reduce the amount of sugar to about 1/2 cup)
1 cup sugar
2 eggs
zest of 2 lemons
1/2 cup vegetable oil
1.5 cup redcurrants (or any other type of berries), fresh or frozen and thawed

Preheat the oven to 180 C. Line 12 muffins moulds with paper cups or one loaf pan with baking paper. Sift together flour, baking powder and salt. In another bowl whisk together yogurt, sugar, eggs, lemon zest and oil. Sieve the dry ingredients over the wet ingredients and whisk well just until incorporated, try not to overmix. Gently fold in the berries. (In Deb's recipe it says to mix the berries with another tablespoon of flour before adding them to the batter mixture, but I skipped this step because I don't mind the berries sinking to the bottom of the muffins. Do whatever you wish.) Fill the batter in the prepared muffin cups (or loaf pan) and bake for about 25 minutes (or 50 minutes for a loaf cake) until done. Let cool completely and dust with some icing sugar if desired.


Wedding Chocolate Cupcakes with Caramel Buttercream Frosting


A few days ago my great-grandparents had their 65th wedding anniversary. Since this is a huge number of years and and amazing event, my whole big family was celebrating as if there was no tomorrow. Everyone in my family loves to talk loudly, to eat a lot, to sing out of tune and to hug each other like crazy. So, in short, I was having a great time. Not only because of my lovely family but also because of all our delicious traditional food. And I can say with pride that somewhere on the dessert table between about hundreds of other cakes, there were some beautiful little chocolate cupcakes with a pretty buttercream frosting made by me. And now they are requested and desired for every future celebration or family event. 
That's why you should definitely try them. The batter is extremely moist and soft while the buttercream is very fluffy and creamy. They're perfect for any special occasion. So here comes the recipe ...


Chocolate Cupcakes With Caramel Buttercream Frosting
(cupcake recipe taken from raspberricupcakes, I slightly changed the recipe)

cupcakes (makes about 12 medium size cupcakes)
95gm white flour
150gm sugar
1 tsp baking powder
1/4 tsp salt
6 Tabsp unsweetened cocoa powder
6 Tabsp hot water
85gm melted butter
6 Tabsp buttermilk or low-fat yogurt
1 egg

Preheat the oven to 180C. Line 12 muffin pans with muffin paper cups. Sift together flour, sugar, baking powder and salt. Combine cocoa powder and hot water and stir until the mixture is a thick paste. (According to Steph, this step intensifies the chocolate flavour of the cupcakes. I think it definitely works. The cupcakes had a very strong and delicious chocolaty taste. So don't skip this process.) Beat together the chocolate paste, butter, buttermilk and the egg. Sieve over the flour mixture and beat just until incorporated. Fill the batter in the prepared muffin cups and bake for about 20 minutes until done. Remove from the pan and let cool completely. 

buttercream
100gm butter, at room temperature
200gm cream cheese, at room temperature
2 cups icing sugar
2 Tabsp caramel syrup (or use any other kind of syrup you like)
3 tsp corn starch

Beat together butter and cream cheese. Sieve over corn starch and beat in quickly. Sieve over the icing sugar and continue beating for about 2 minutes until very smooth and well incorporated. Add the syrup and mix. The mixture should be very thick but smooth. Frost the 12 completely cooled cupcakes. (Optional: I decorated the frosted cakes with some dark chocolate roses. Use whatever you wish.)
Enjoy :)


Galette aux pommes


The french cuisine is quite impressive and this french galette aux pommes is one of the most delicious things I've ever eaten. So, am I going to write this post in french then? Nope. Let me tell you about my yummy galette in a less complicated language...


Do you love a lightly browned crust combined with soft and sweet apples as much as I do? This galette has quite everything that a bakerheart can ask for. The sides are a bit crispy, the inside is soft and moist, the dough is incredibly easy to prepare and the result is yumyum. Apples can be replaced by pears, yogurt can be replaced by sour cream, so just take out some simple ingredients and start. Seriously, you don't wanna miss this...


Galette aux pommes

1 1/4 cup white flour
8 Tabsp cold butter or margarine
1 tsp salt
1/4 cup yogurt or sour cream
3 Tabsp cold water
1/2 cup white sugar
2-3 apples, thinly sliced
some sugar for sprinkling (I was using about 1 tablespoon)

Place flour, salt, sugar and cold butter into a bowl and combine using a fork (or your fingers) until you have a very crumbly mixture.
Add yogurt and water and knead until you achieve a dough which has a smooth and soft texture. If the dough is still dry or crumbly, add some water and knead in, and if it's still too sticky sieve over some flour and knead in as well.
Cover with a plastic wrap and let sit in fridge for about 2 hours. (The dough can be prepared even a day before baking and let sit in fridge over night.)
Preheat oven to 175C.
Line a baking sheet with baking paper.
Take your cooled dough out of the fridge and place it onto the lined baking sheet. Roll it out or strech with your fingers evenly to a round shape.
Arrange the thinly sliced apples on top, as you wish. Sprinkle with sugar.
Fold the sides of the dough onto the apples and gently press them on.
Bake in the preheated oven for about 25 minutes until golden browned.
Let cool completely and dust with icing sugar, if desired.
Enjoy. 


It's Chai Time ~ Apple Spice Cake


What is the right thing to do when you have a large bucket of baking apples in your kitchen?? Yes, it's wise to take some butter, eggs and milk out of the fridge and combine them with flour and a LOT of cinnamon. A perfect apple cake on a cold fall day can't exist without cinnamon. A LOT of cinnamon.
Some weeks ago I was reading the blog of David Lebovitz and found a nice picture of an apple kugelhupf. So I baked it, immediately. With a LOT of cinnamon. It turned out wonderfully soft, spicey and fruity. I have to admit, that I was missing some raisins. Although David's recipe doesn't mention any raisins and this simple apple cake is pretty delicious even without raisins, I totally missed them. As soon as possible I'm going to bake this cake again, but raisins definitely have to be in there.


Apple Spice Cake
adapted from David Lebovitz

apples
30gm butter
4 large baking apples (or more)
40gm sugar

Melt butter in a medium size saucepan on medium heat. Add apples and cook until they turn golden. Add sugar, stir and continue cooking until apples are nicely browned and glazed. Remove from heat and let cool a bit.

batter
170gm butter or margarine (I cut down to 140gm)
200gm sugar (original recipe says 350gm)
4 eggs
1 cup dates, in pieces (I skipped this as I didn't have any dates)
420gm flour
2 Tabsp baking powder
1/2 tsp nutmeg
2 Tabsp cinnamon
120g milk (original recipe says yogurt)

Preheat oven to 180C. Grease a large bundt pan.
Beat butter and sugar using a mixer on high speed until fluffy. Beat in eggs until very light and bubbly. Add milk and beat in as well.
Sieve over flour, baking powder and spices. Quickly beat in just until incorporated.
Gently fold in the cooled apples.
Bake for about 45 - 50 minutes. Let cool for a few minutes, then take out of the pan. 
Let cool completely.
Dust with icing sugar if desired.

It's Chai Time ~ Vanilla Cherry Cupcakes


Well, I made these cupcakes some months ago but still, I'd like to post some pictures and the recipe since they were pretty and very delicious. There's just something amazing about a soft, fruity batter combined with a milky, creamy frosting. So if you have no idea what to have with a nice cup of tea today, try them!


Vanilla Cherry Cupcakes
makes about 18 medium size cupcakes

batter
1.5c white flour
2 tsp baking powder
150gm butter or margarine, softened
1/2c (homemade) vanilla sugar
1/2c white sugar
2 eggs
about 1.5c fresh cherries, cut in small pieces

frosting
200gm сметана / sour cream / soft cream cheese
100 - 200gm yogurt (it depends on how much frosting you want to have on your cupcakes)
4 tsp vanilla sugar

Preheat oven to 150-170C. 

Prepare the frosting: Beat together all ingredients for the frosting using a mixer until well combined and fluffy. Cover the bowl with a plastic wrap and keep in fridge while baking the cupcakes.

Prepare the batter: Line about 18 muffin cups with cupcake baking cases.
Whisk together flour and baking powder.
Beat butter, sugar and eggs using a mixer on high speed until light and creamy. Sieve over flour mixture and quickly beat in, just until incorporated. Do not over beat.
Fold in the cherries. 
Fill batter into prepared muffin cups and bake for about 30 minutes until done and nicely browned. Let cool completely.

Take the cooled frosting out of the fridge and frost the cupcakes as desired.
Decorate with anything pretty, such as cherries, grated chocolate or chocolate beans.
Keep in fridge. 


Strawberry Yogurt Cake With Yogurt Frosting


After my amazing holidays that were filled with sunshine, sea and grandma's israeli dishes, I am back and wanting to share another strawberry recipe that I tried and fell in love with at the same time. As I already mentioned about a hundred times I have a huge passion for anything fruity combined with anything milky, especially strawberries with yogurt, which make this cake very moist and heavy. Try it out, you're gonna luv it!


Strawberry Yogurt Cake With Yogurt Frosting

batter
3 eggs
200gm sugar (which can be reduced)
240gm greek yogurt (about 10% fat)
80gm oil
250gm white flour
1.5 tsp baking powder
about 2 cups strawberries, cut in halves

Preheat oven to 180C. Line a round baking pan with baking paper.
Beat eggs and sugar until very light and bubbly. Beat in yogurt and oil.
Sieve over flour combined with baking powder and beat in quickly just until incorporated.
Fill the batter into prepared baking pan and spread evenly. Place strawberries on top of the batter and lightly press them in.
Bake for about 45 minutes until done.

topping
100gm cold whipping cream
100-200gm greek yogurt (depends on what amount of frosting you desire)
4 tsp powdered sugar
(some pretty strawberries, cut in halves - optional)
 
Beat whipping cream until stiff and combine with yogurt and sugar.
Keep in fridge until the cake is completely cooled.
Spread frosting onto the cake and place some strawberries on top, if desired.
Keep the cake in fridge, cooled yogurt tastes better than at room temperature. Enjoy :)


Gulchathaii

Strawberry Yogurt Cake


There's nothing yummier than a cooled strawberry yogurt cake on a hot summer day. Probably it's also the reason why almost everyone was asking for the recipe. And I have to agree as well that this cake turned out pretty delicious. Definitely going to bake it again, maybe I'm going to replace strawberries with raspberries next time. If you're into berries and yogurt like I am, give it a try! 


Strawberry Yogurt Cake

200gm soft margarine or butter
175gm sugar (can be cut down to an amount of 120gm)
3 eggs
200gm yogurt (I was using low fat yogurt)
300gm white flour
3 tsp baking powder
zest of one lemon
strawberries, cut in small pieces, as much as desired (I was using about 400gm)

Preheat oven to 175degC. 
Cream soft margarine/butter with sugar using a mixer on high speed. Beat in eggs until fluffy. Add yogurt and lemon zest and quickly beat in as well.
Combine flour and baking powder and whisk together. Sieve over the wet mixture and beat in just until incorporated.
Line the bottom of a baking pan (about 8inch x 12inch) with baking paper. 
Fill in batter and spread evenly. Place cut berries onto the batter and lightly press them in. 
Bake for about 45 minutes until done. Let cool completely and keep in fridge.

Optional: Dust with powdered sugar.


Gulchathaii

It's Chai Time ~ Raspberry Lemon Cake


This was the first time ever for me to bake this type of cake. It was for my aunt's and my uncle's 20th wedding anniversary and I wanted to bake something special. Since my aunt is totally in love with berries I decided to use raspberries. The lemon flavour was my own desire, as I'm crazy about citrus fruits. Raspberries and lemons go so well together. I'm so glad everyone liked it. Hopefully, you try this recipe and like it, too.


Raspberry Lemon Cake

about 2 cups of raspberries, drained (or use more, if desired)

Batter

2 cups white flour
2 teasp baking powder
1 cup sugar
4 eggs
zest of (at least) 1 lemon
1 cup oil

Preheat oven to 175C. Line 2 round pans with baking paper. Do not grease the sides. 
Combine flour and baking powder. Beat eggs until fluffy, then add sugar and beat in for about 2 minutes until you have an extremely light and bubbly mixture. 
Beat in oil and lemon zest. 
Sieve over flour mixture and quickly beat in just until incorporated.
Pour into 2 prepared pans and bake for about 20 minutes until done. Let cool completely.


Frosting

200gm сметанa (or sour cream, about 25% fat)
1/2 cup yogurt (not low fat)
about 2 Tabsp sugar

Beat together sour cream, yogurt and sugar until incorporated. Set aside.


Topping / Glaze

juice of 1 lemon
130ml water
1 teasp corn starch
(red food coloring, if desired)
+ some almonds for sprinkling

Put lemon juice, water, corn starch (and food coloring) into a medium-size sauce pan and bring to a boil while continiously whisking to avoid lumps. As the mixture starts to become thicker, remove from heat and let cool for about 1 minute.


Take the first layer and place it onto a plate.
Spread half of the frosting mixture on the first layer.
Place half of drained raspberries on the frosting while gently pressing them in.
Cover with second layer.
Place the remaining raspberries equally onto the second layer (For this step I used the pretty raspberries while I put the not-so-pretty berries between the layers, as mentioned before.)
Take the lightly cooled glaze, pour over the top of the raspberries and spread all over.
Now frost the sides of the cake using the rest of the frosting mixture. 
Sprinkle almonds on top. Let sit for about 3 hours.
And enjoy.


My aunt's delicious Raspberry White Chocolate Tiramisu


And of course her amazing Honey Cake. That cake can really make my day.


Gulchathaii